Simplified Seating: 5 Steps to Create a Wedding Seating Chart
Roll up your sleeves, pour yourself a glass of wine, and unfurl those eyebrows — it’s time to create a wedding seating chart. Picture a chic acrylic wedding sign written in gorgeous calligraphy or a boho, greenery-inspired poster on a rustic easel. A wedding seating chart is one piece of wedding stationery that’s typically essential but poses many couples with a challenge.
Even those who love the wedding planning process take a few shallow breaths at the mention of a seating chart. Those two words pose a laundry list of follow-up questions and concerns about the best way to arrange your friends and family members at the wedding reception. But don’t worry. We’ve simplified the process with this step-by-step guide on planning your wedding seating chart.
How to Create a Wedding Seating Chart in 5 Easy Steps
Design: Becky Nimoy Stationery
As soon as the RSVPs come in, you can start mapping out the place settings for your wedding reception. In the process, you’ll decide where you and your soon-to-be-life partner wish to sit, along with your wedding party, family, and friends.
Feel free to approach the below steps with a little elbow grease and a spreadsheet to make your own digital seating chart, or use Greenvelope’s seating chart tool to streamline the whole process. Your wedding venue may also have a sample seating chart you can look at to help you visualize the space.
Ready to get started? Here’s our step-by-step guide to help you start from zero and end up with a beautiful seating chart sign by the end of it.
Step 1: Work With Your Vendors
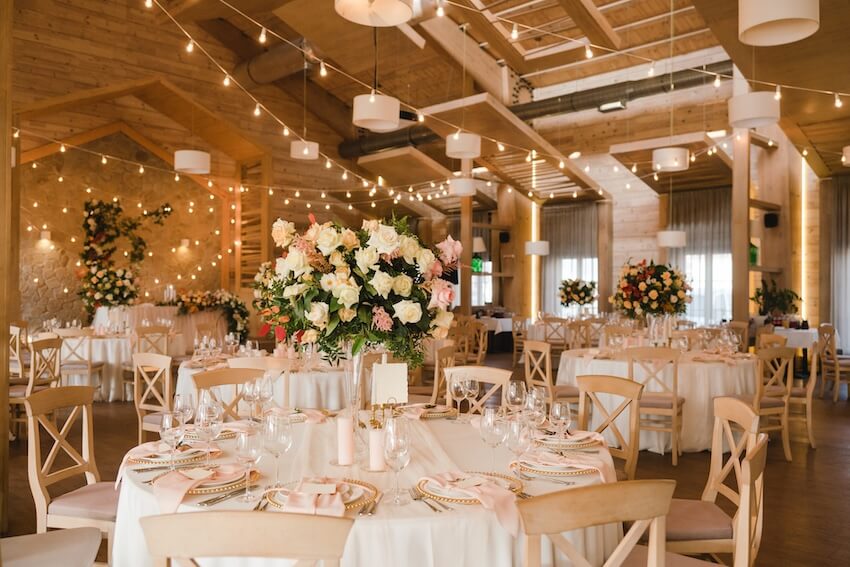
Before you start arranging your wedding table seating, take a step back. You need to determine how many people can fit at each table and how you’ll arrange tables within the reception space.
For buffet-style dining, you may be in the clear — guests can seat themselves. However, for served dining or guests ordering from a small menu, a wedding seating chart is highly recommended. After all, it would be difficult for your servers to match food choices to your guests without one.
Each wedding venue has a unique floor plan that will influence how you arrange each table. As you plan your table arrangements, remember to leave space for a DJ, dance floor, florist, wedding photographer, bar area, dessert table, or other treats and attractions. Be sure to work with your venue when arranging tables, as they may have plenty of wedding seating chart ideas from past receptions.
Once you’ve made a generic floor plan for your reception, you’ll need to decide your table shapes. If you’re working with a venue or caterer, your wedding table shapes may already be decided for you. Wedding reception seating usually has three options: round tables, oval tables, and rectangular tables.
Step 2: Seat Yourselves and Your Wedding Party
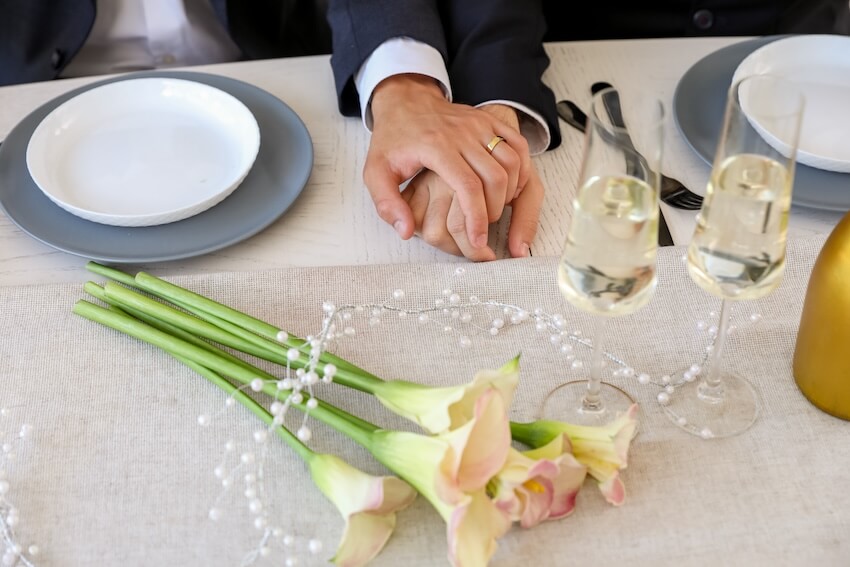
Once you’ve arranged your tables, it’s time to assign your wedding guests to specific tables. But before you tackle your entire wedding guest list, you’ll want to decide where (and how) you, the happy couple, wants to sit.
If you choose to include a head table, you’ll dine with the rest of your wedding party (and their plus-ones, if space allows).
There are a few different approaches to a head table: First, you could sit in one long row facing your other guests (one side of the table is empty). Here, the wedding party members would typically sit on their respective sides — for example, on either the “bride’s side” or the “groom’s side.” However, depending on the makeup of your individual wedding party and how traditional you are, you can get creative with your seating arrangements.
Secondly, you could create a table where the wedding party sits around one long, rectangular table at the center of the room.
Otherwise, if you and your future-forever wish to make a sweetheart table, you can sit together, just the two of you. In this case, you’ll have a separate table for the rest of your wedding party and their dates. You might even have a unique wedding tradition that encourages you to arrange your newlywed table in a certain way.
Step 3: Focus on Your Families or Closest Friends
Next, you’ll want to decide where to seat your families, if they’re in attendance, starting with your parents or other VIPs who are closest to you.
If all parents or close relatives get along and want to celebrate side-by-side (literally), then feel free to seat them together. However, more often than not, you’ll seat the two sets of parents at separate tables equally distant from the happy couple.
If you have more than two sets of parents or family dynamics that pose a few hurdles, then remember that this is your wedding day — and therefore, you make the rules. The goal of a seating arrangement is to create an environment where everyone can feel comfortable. If you need to make several tables of family members mixed between aunts, uncles, grandparents, parents, and step-parents, then go ahead and do so.
Also, remember that it never hurts to ask. Rather than guessing where your closest loved ones would like to sit, simply ask who they would like at their table. They might request to sit with lifelong friends or mix in with your beloved’s extended family rather than be seated with direct family members.
Step 4: Divide Your Wedding Guests Into Groups
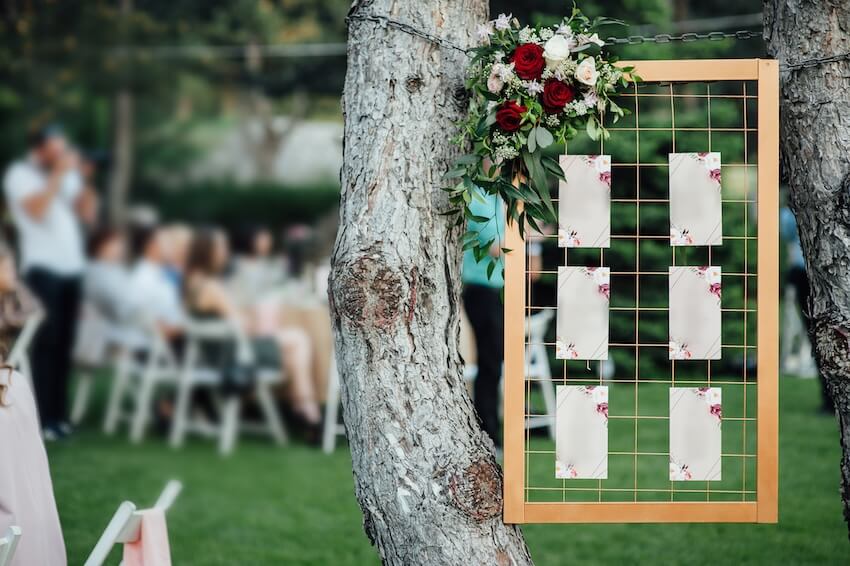
With family matters checked off your list, it’s time to seat the remaining wedding guests. We recommend sorting your guests’ last names alphabetically, then dividing them into groups. For instance, you could create separate tables for college friends, family friends, friends from different social activities, work friends, or high school friends.
Once you place your guests into groups, assign everyone a table number. If applicable, leave space at each table for plus-ones and dates. Here’s the good news: you don’t have to assign specific seats or make detailed seating assignments for each table. Instead, put up signage and leave place cards (also known as escort cards) with each guest’s name at the entrance to the reception. They can carry the cards to their respective table where they choose their seats.
Step 5: Consider Special Circumstances
You may want to consider a few special circumstances when assigning table numbers. Every celebration, couple, and family situation is different, and your wedding reception seating chart is an opportunity for you to customize the way your big day feels.
Some questions you may want to answer include:
- Do you want a separate kids’ table?
- Do you want a table where singles can mingle?
- Will you have seats for last-minute guests who text an RSVP the week of your wedding?
Remember, if a certain table assignment stumps you, it doesn’t hurt to ask. Save time and energy by simply calling or texting friends to ask about their seating preferences. And if you’re hosting a minimalist wedding with just one or two tables, you may not have many scenarios to anticipate for your table seating chart.
A Wedding Seating Chart Can Make It Easier to Plan Your Celebration

Design: Carmia Jordaan
We understand mapping out your own unique wedding seating chart can be stressful. While planning a wedding seating chart can feel like a giant, unsolved puzzle, there’s no need for it to stress or frustrate you.
No matter where your guests sit, they will still snap photos, mingle, and revel in the celebration. Your wedding seating plan helps spark conversations and a celebratory atmosphere, so look at it as yet another fun experience leading to your big day.
While we can’t help draft your actual wedding seating chart, we can help with the RSVP process. With Greenvelope’s digital invitations, guests can RSVP in one simple click, giving you as much time as possible to map out seating arrangements with our useful built-in seating chart tool.
Whether you’re going the full DIY route or working with a wedding planner, don’t miss our selection of wedding guides. From designing the perfect wedding invitations to planning your rehearsal dinner, dress code, and wedding decor, we have plenty of pro tips and helpful tips to ensure your big day is as unique and special as your love story.


